A wash takes off loose dirt, but some contamination bonds to the paint and stays until you remove it on purpose. This guide covers what comes after the wash: lifting what is stuck, polishing out light marks if you choose to, and adding a layer that makes the next wash easier.
Car paint is usually a thin color coat under a clear coat, and the clear coat is what you see, touch and clean. It is softer than most people expect, so the gentlest step that does the job comes first and anything abrasive comes last. Many cars never need polishing at all; they need careful washing and a coat of protection.
Work only on paint that has just been washed and dried, in shade, with the panels cool. Read every product label before you start, wear gloves for iron removers and solvent cleaners, and work outside or with the garage door open so fumes can clear. Never mix products from different bottles.
Signs it needs attention
- Water sits in flat sheets instead of beads
- Paint feels rough under a plastic bag after a wash
- Tiny orange dots on white or light-colored paint
- Fine circular swirls that show in low sun
- Faded, chalky color on the roof or the hood
- Shampoo and dirt cling to the panels during a wash
Lift what the wash leaves behind
Bonded contamination includes tiny iron particles from brake dust and rail lines, tar, sap mist and industrial fallout. Slide your hand over clean paint inside a thin plastic sandwich bag; if it feels like fine sandpaper, something is stuck there. An iron remover sprayed on and rinsed off as its label directs dissolves the metal specks, often turning purple as it works.
Iron removers and tar removers smell strong and can irritate skin and eyes, so wear gloves, keep the area ventilated and keep children and pets away. Spray onto a cool panel, keep it off hot trim, and never let it dry. Rinse thoroughly and dry the car before the next step.
- The bag test on clean, dry paint
- Gloves and fresh air for iron and tar removers
- Rinsed off fully before it can dry
Clay for anything still stuck
A clay bar or clay mitt picks up what the sprays leave, gliding over the surface and grabbing the specks that stand proud of it. It always needs a lubricant, such as a clay spray or a quick detailer misted generously on a small area. Glide with light pressure in straight lines until the clay stops dragging and moves smoothly.
Fold the clay to a clean face often, and throw it away if it hits the ground, since it will hold onto grit and mark the next panel. Clay can leave faint marring on soft paint, so check the surface in good light afterward. Use it only when the bag test says the paint needs it, not every wash.
- Plenty of lubricant, light pressure, straight lines
- A dropped clay bar goes in the trash
- Done when the paint feels smooth under the bag
Polish only if the marks bother you
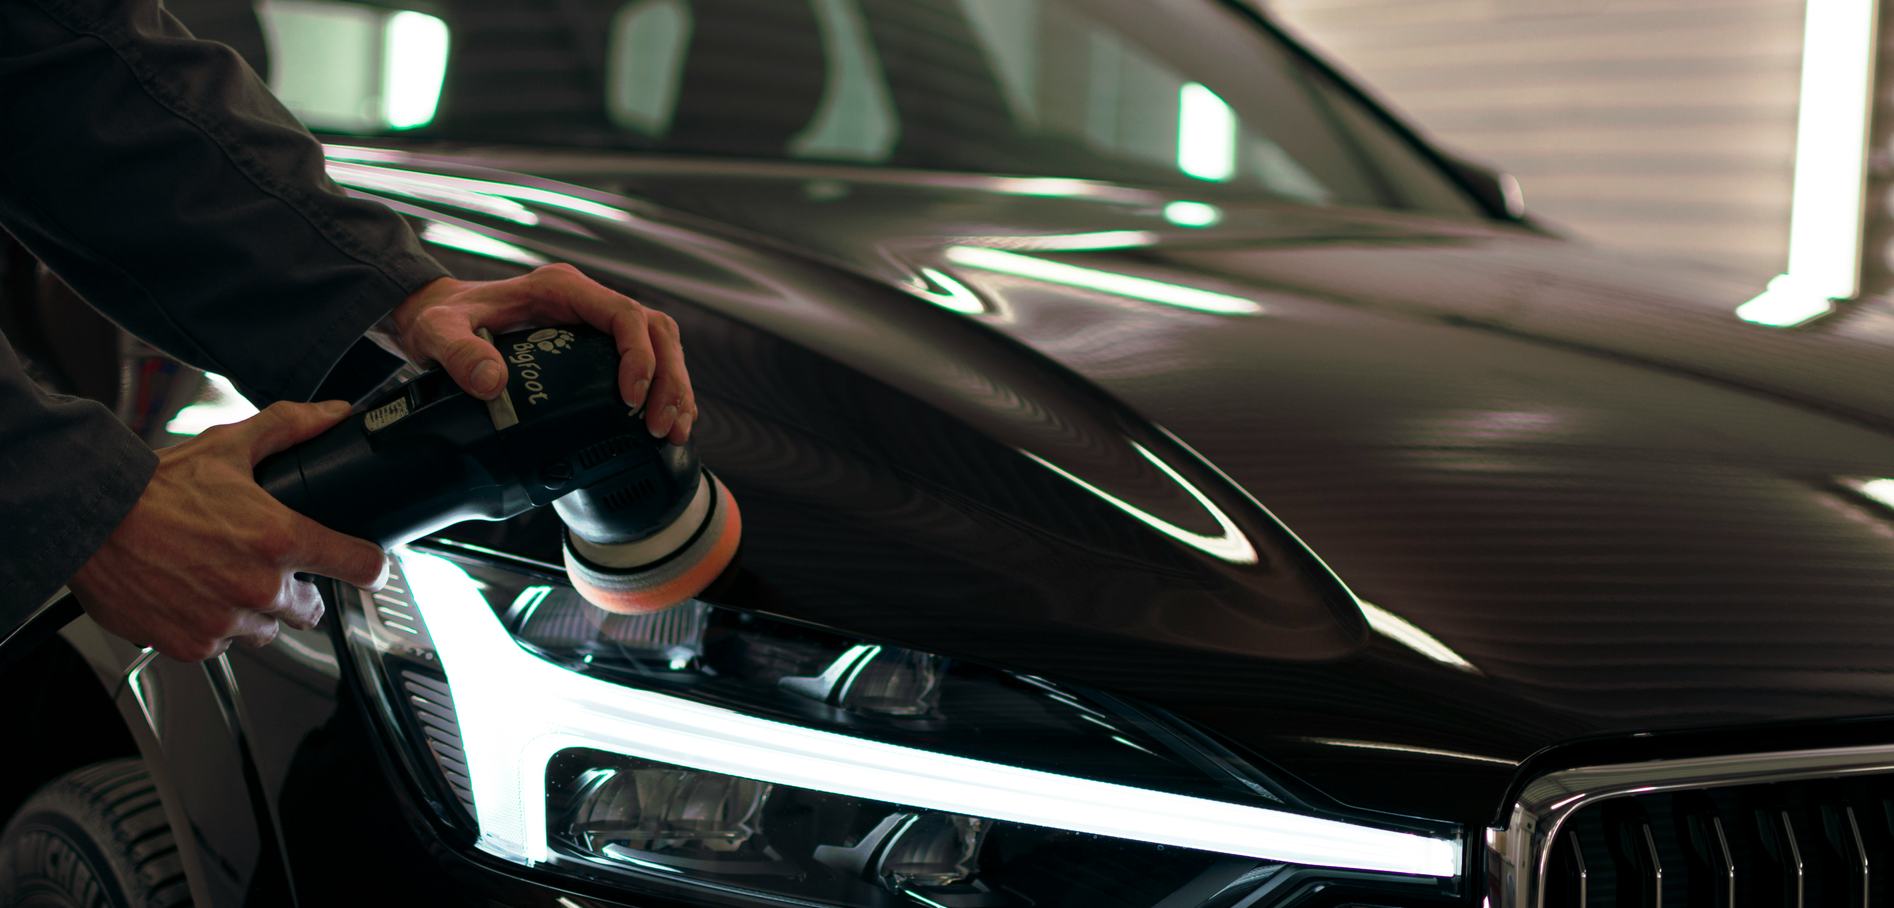
Polish is a fine abrasive that levels the clear coat a tiny amount around swirls and light marks, so they catch less light. That means each polish removes a little clear coat that does not grow back. Start with the mildest polish and a soft pad on a small test spot, and go further only if the result calls for it.
A dual-action polisher is gentler on paint than a rotary one for a beginner, and polishing by hand works for small areas. If a scratch catches your fingernail, it has likely gone through the clear coat and polish will not take it out. Deep scratches, chips down to bare metal and rust bubbling under the paint are for a body shop.
- A test spot before working a whole panel
- Mildest polish and softest pad first
- Fingernail catches: leave it to a body shop
Adding protection and keeping it working
Protection is a thin layer over the clear coat that water and dirt slide off more easily. Wax is the traditional choice, soft and warm-looking, and it wears away soonest. A sealant is a synthetic layer that usually holds on longer than wax, and a ceramic-type coating is a harder, thinner layer that bonds to the paint and takes more care to apply.
Apply any of them thinly to clean, cool paint in shade, one panel at a time, and remove them as the label says. Afterward, wash with a pH-neutral shampoo so you do not strip the layer, and top it up with a spray sealant when water stops beading. Keep wax and sealant off textured black trim, which they can stain white.
- Thin coats on cool, clean paint
- Gentle shampoo so the layer stays put
- Top up when beading fades, not on a calendar
The kit
- An iron removerDissolves embedded metal specks that a wash cannot shift.
- A clay bar or clay mitt with lubricantPicks off bonded grit and sap mist so the paint feels smooth.
- A fine finishing polish and soft foam padsSoftens light swirls while cutting as little clear coat as it can.
- A wax, sealant or spray sealantLeaves a slick layer that helps water and dirt run off.
- Clean microfiber buffing towelsWipe off residue without leaving fresh marks behind.
- Nitrile glovesKeep iron remover, tar remover and solvents off your skin.
Generic items only; Prime Axle names no products. Read each product's label and follow it.
What to leave out
- Polishing out every mark: it thins the clear coat
- Clay without lubricant: it drags and mars the paint
- Products on a hot panel: they streak and dry too fast
- Wax on rough black trim: it dries chalky white
- Mixing chemicals from different bottles: fumes and damage
Questions about paint and protection
All three are a layer on top of the clear coat that water and dirt slide off more easily. Wax is the softest and wears away soonest, a sealant is synthetic and holds on longer, and a coating is harder and needs the most preparation. None of them stops scratches, chips or bird droppings from doing damage if left.
No. Clay only when the paint feels rough under a plastic bag after a wash, which on many cars is not often. Claying more than the paint needs adds light marring and wears protection off for no gain.
If your fingernail catches in the scratch, it has probably cut through the clear coat, and polish will only thin the paint around it. A body shop can tell you what the repair involves. The article on small scratches and chips covers what an owner can look at first.